Simple steps to help you start reaching your audience!
1. Get Started
Your starting point is the Add a listing button, which can be easily access from the navigation menu.
Tip: You can quickly check if a listing has already been added for your business or services. If yes, you can claim it on the listing page. You are one step closer.

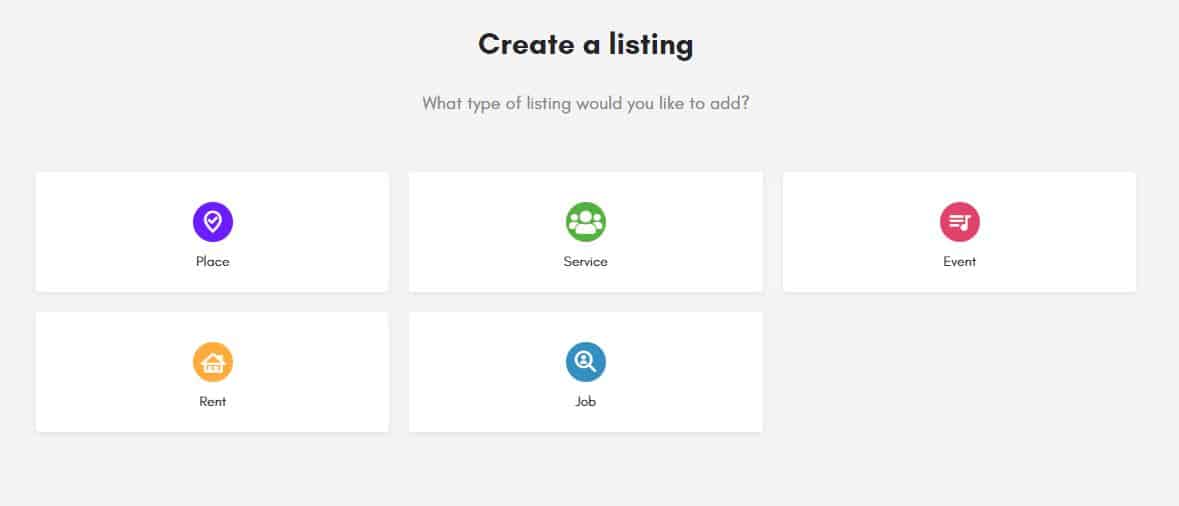
2. Choose a Listing Type
Click on the Listing Type card that best matches your criteria
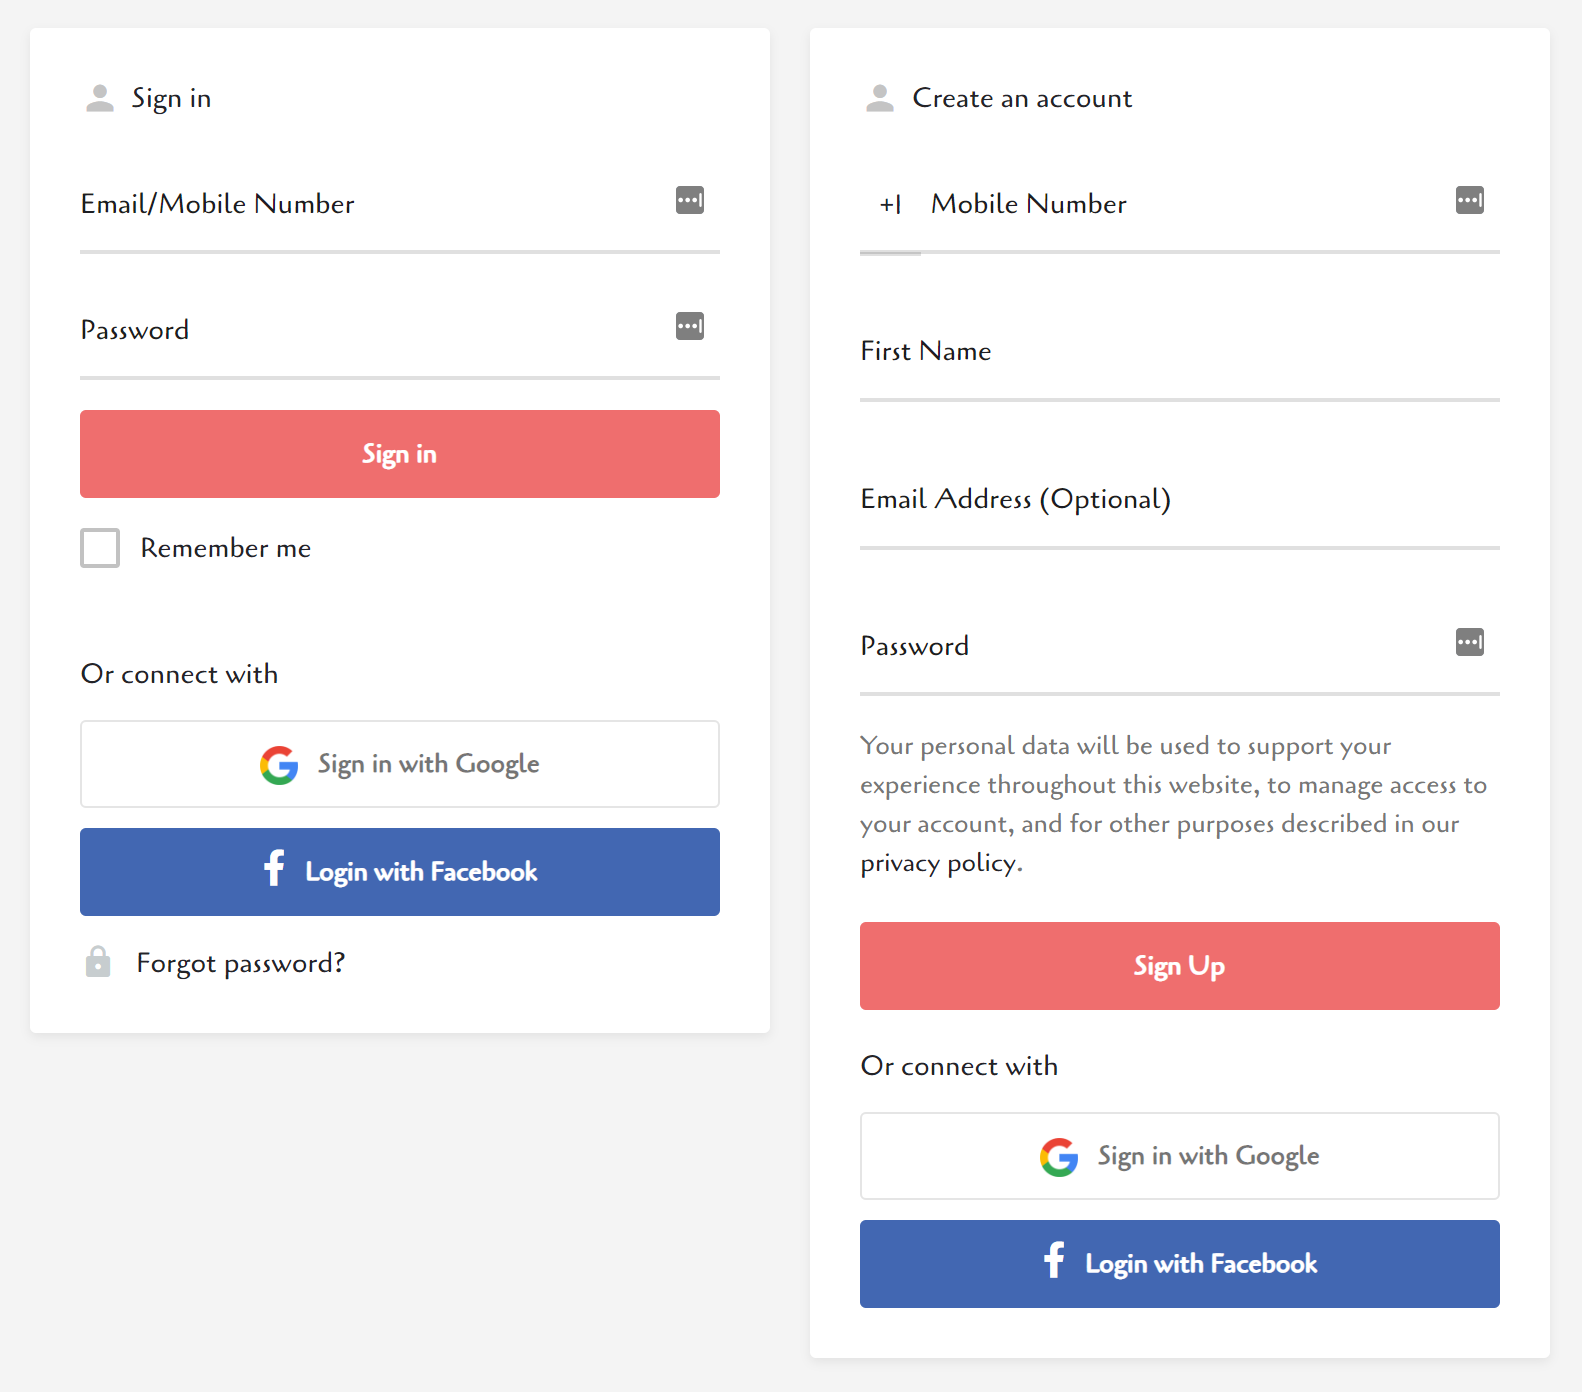
3. Create Your Account
To submit your first Listing, you must first create an account.
Tip: If you already have a Google or Facebook account, we make it so much easier to sign up.
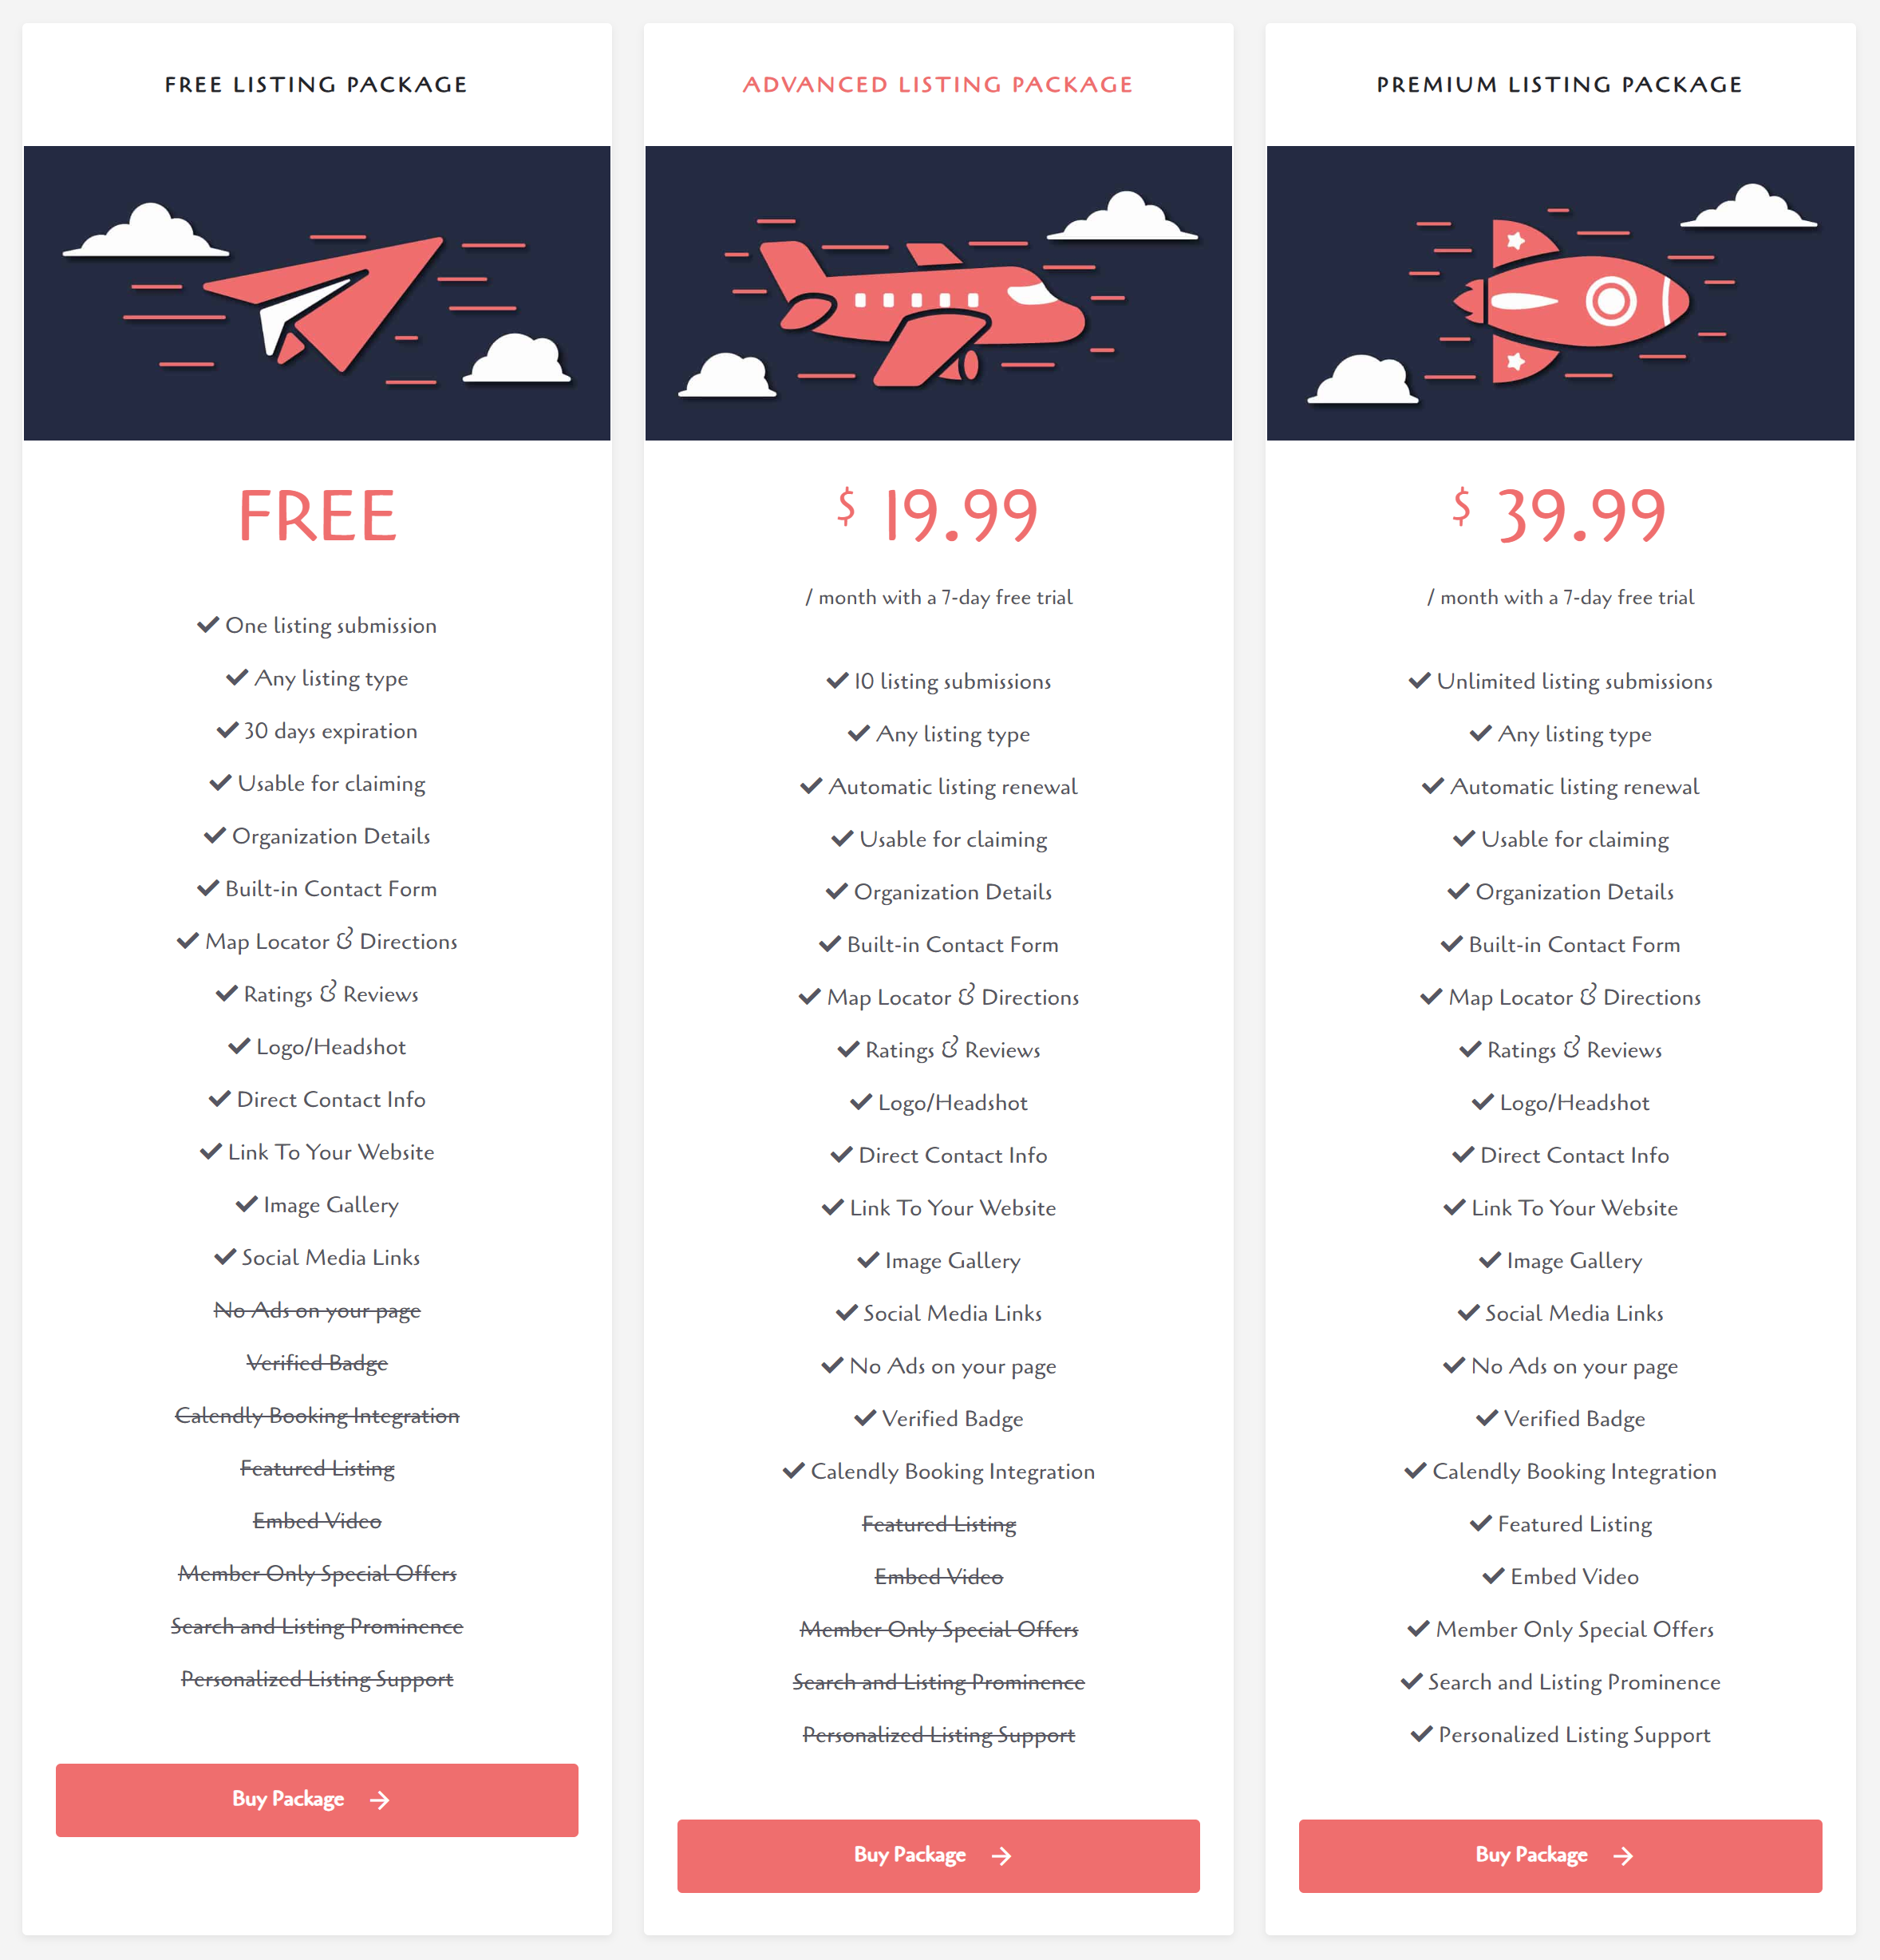
4. Choose a Listing Package
You can add your listing for free with limited features or you can choose a Listing Package (monthly subscription) that best meets your needs and your budget.
Tip: Subscriptions can be upgraded, downgraded, or cancelled at any time.
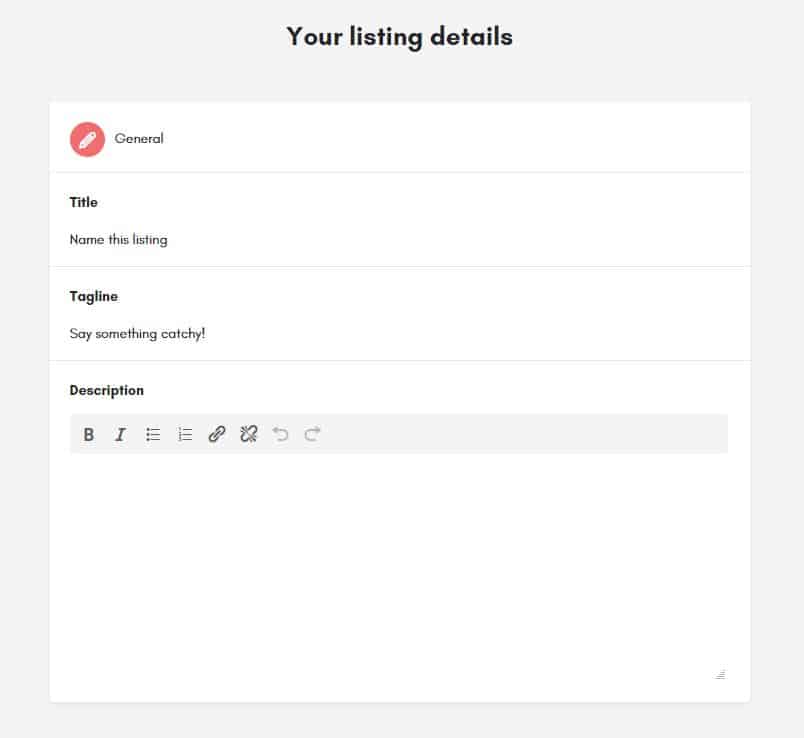
5. Complete Your Listing
While not all fields are required to get started, we recommend that listings be as complete as possible.
If you chose free listing, this is your final step. Your listing will be published once we reviewed it.
Tip: The more complete your listing is the better chance you have you reach your potential customers. A complete listing would be more appealing than a listing without much details.
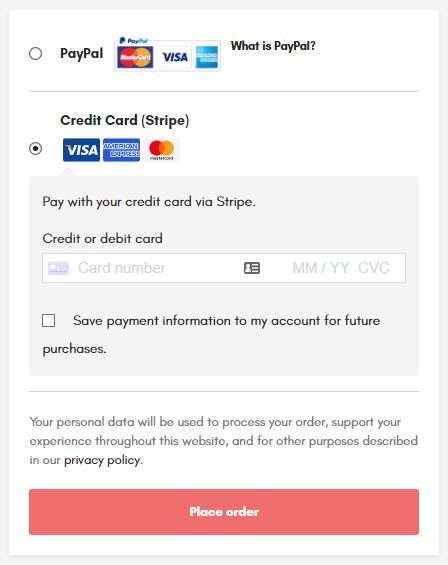
6. Checkout
If you chose advanced or premium package this is your last step.
Enter your payment information, which is securely transmitted to and stored by an industry-leading online payment processor. Stripe & PayPal.
Once your payment is submitted, you will receive an email with your order information.
Now, sit back relax – reach and connect with the community better than ever!